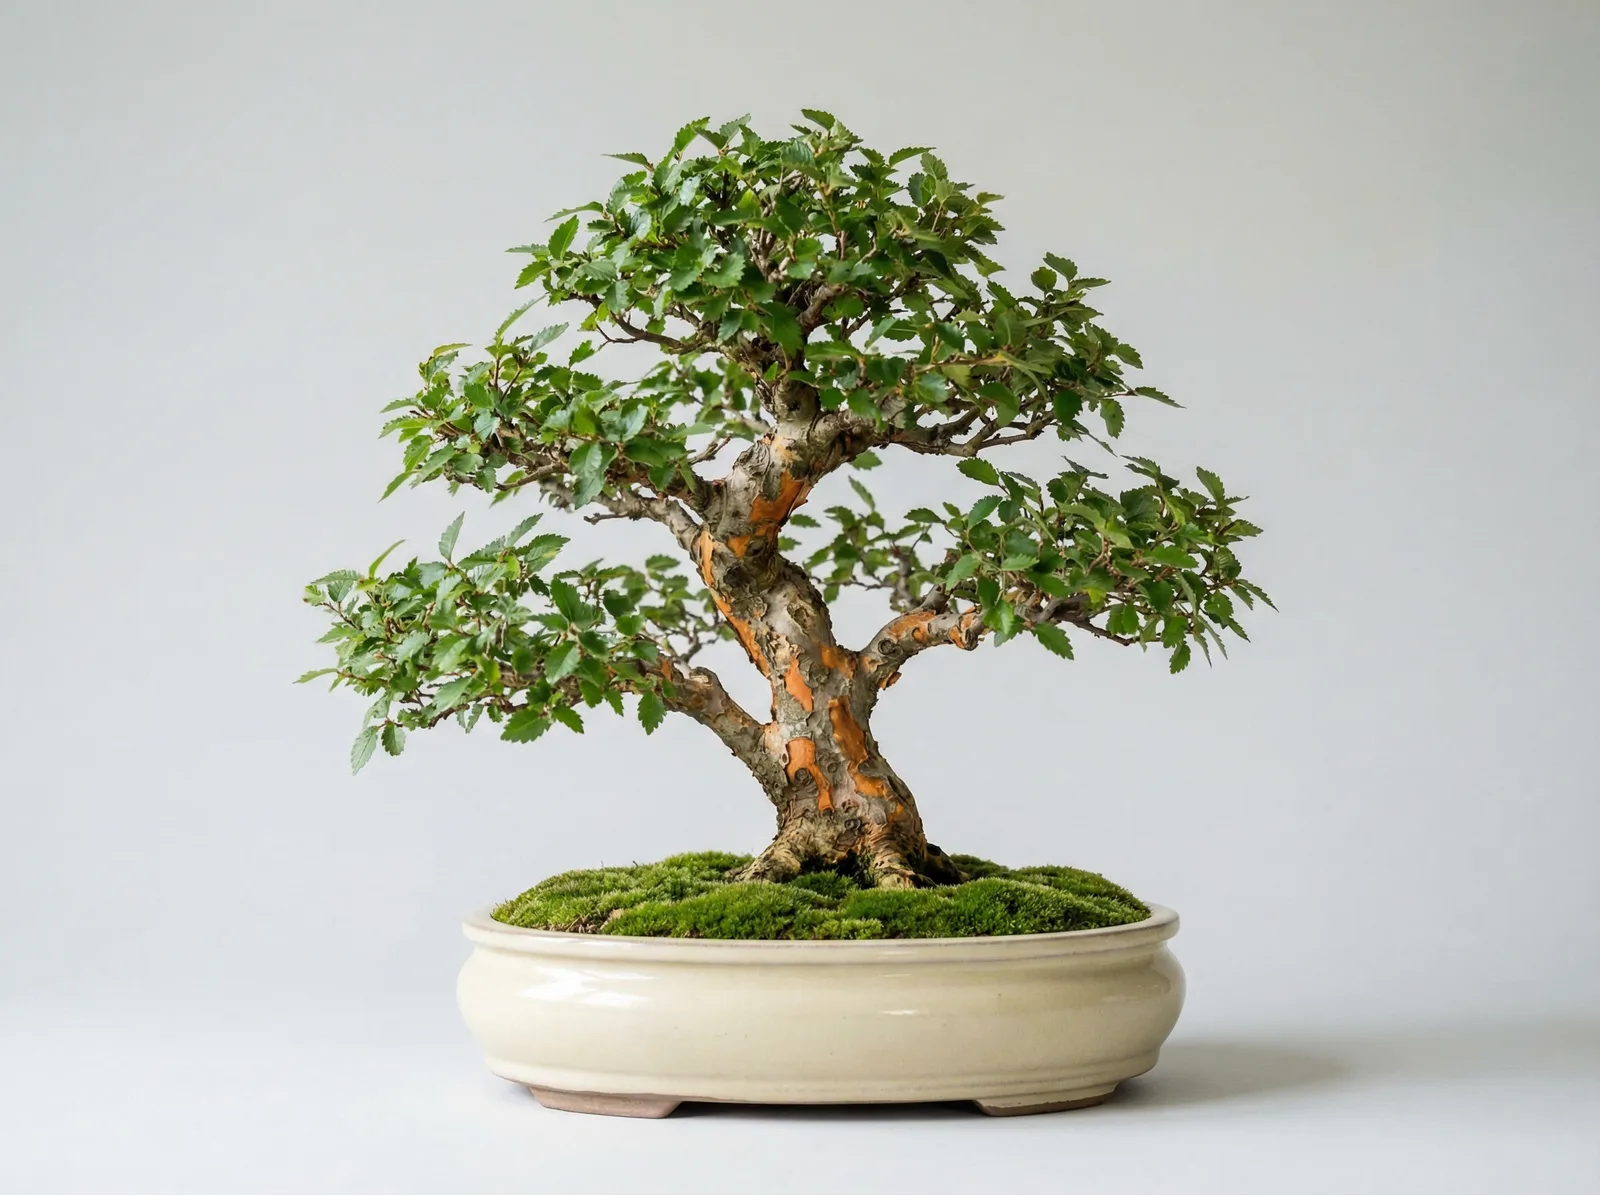
Growing bonsai from cuttings, seeds, or air layers gives you full control over the tree's development from the very beginning. It's the slow lane, and it's worth it.
On the benchrooting hormoneperlitesphagnum mossplastic wrapsharp knifesmall potsclear plastic bags
Propagation is the slow lane in bonsai — and that's a selling point, not a drawback. Starting a tree from a cutting or seed means you control every stage: trunk taper, root spread, first branch placement. You'll wait years before it reads as "bonsai," but the result often beats nursery stock, because you shaped each phase instead of inheriting someone else's decisions. The trade is patience.
Cuttings: the practical entry point
A cutting roots because many woody plants keep dormant root-forming cells in their stems. Wound the stem, hold it warm and humid, and those cells build roots before the piece runs out of energy. It's a race — root before it rots or dries — so medium and humidity matter more than technique.
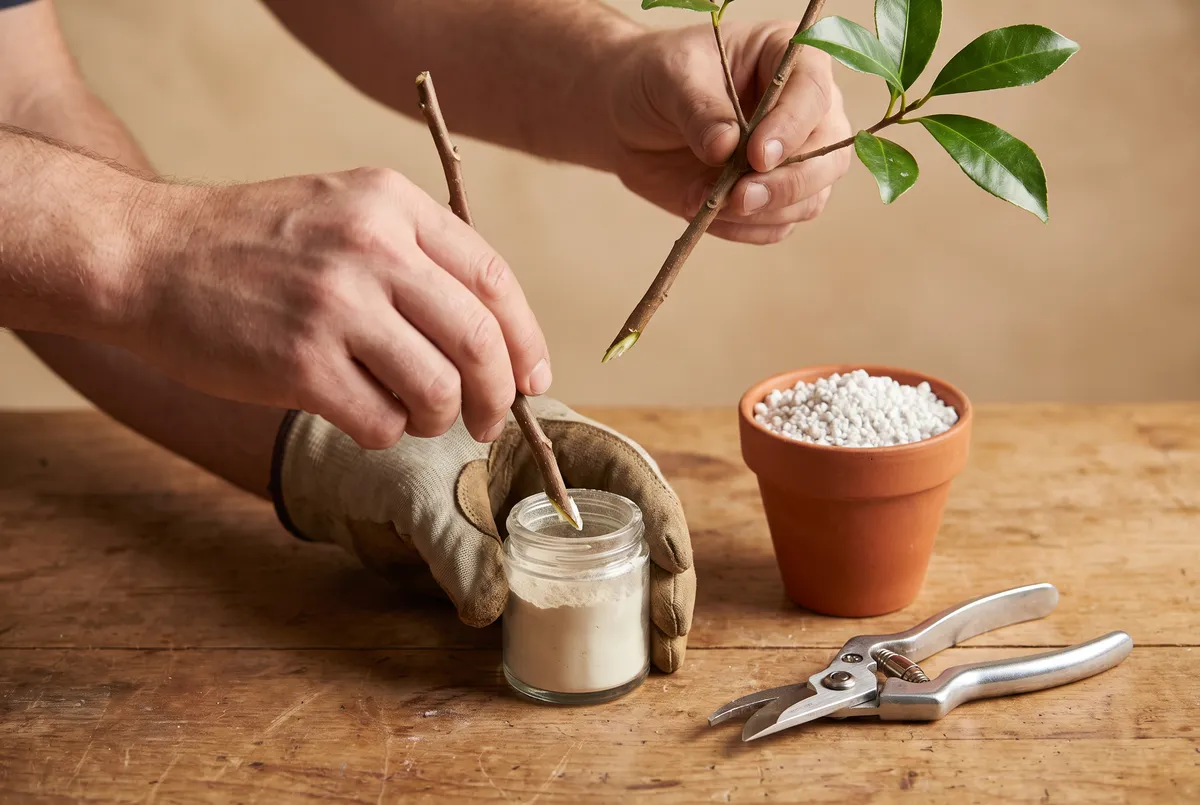
Four to six inches of semi-hardwood, lower leaves stripped, hormone on the fresh cut — ready for the perlite.
Take a four-to-six-inch piece from a healthy semi-hardwood branch — this year's growth that's firmed up but isn't fully woody.
Strip the lower leaves and dip the cut end in rooting hormone.
Push it into perlite, coarse sand, or a 50/50 perlite-peat mix. A rooting medium holds moisture and air but almost no food, which pushes the cutting to grow roots.
Keep it moist, give it bright indirect light — direct sun cooks a rootless cutting — and tent the pot with a clear plastic bag. Bottom heat from a seedling mat, near 70°F, speeds everything up.
Most cuttings root in four to eight weeks; new leaf growth is the first sign roots have formed.
After they root
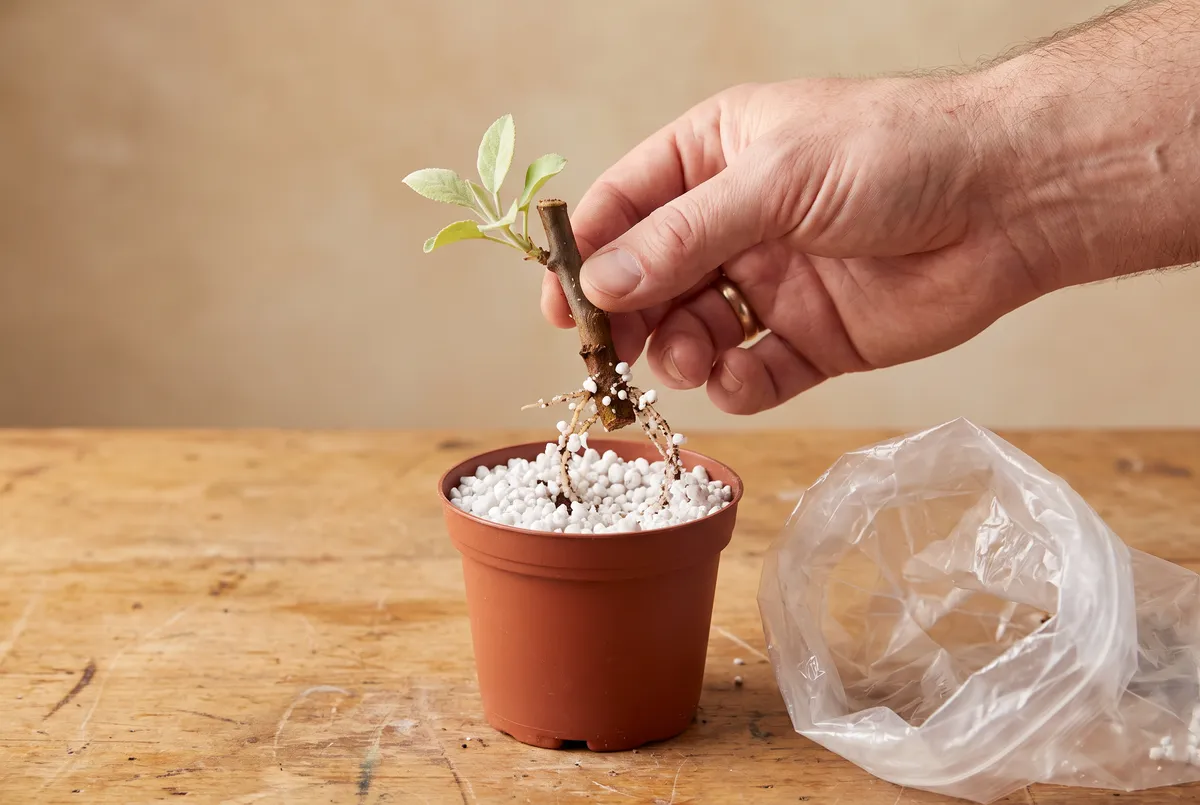
A newly rooted cutting has a few thin roots and no reserves — treat it like a patient. The tent that saved it will now suffocate it, so wean it off humidity before moving it.
Pot-up ready: one to two inches of white root and fresh top growth. Any less, re-tent it and wait.
Vent the bag gradually over about a week — open it a bit more each day rather than all at once, so the cutting adjusts to room humidity without wilting.
Pot up once the roots are one to two inches long, usually a few weeks after the first leaves. Move it into a granular mix from the soil guide — the soil calculator will size a batch — in a deep pot or grow box, not a shallow bonsai pot.
Protect the first winter. A rooted cutting has no root mass to spare — hardy species need a frost-free but cold shelter (unheated garage or cold frame; see the winter care guide), and tropicals come indoors under a bright window.
Start training in year two or three, once the trunk has thickened and roots fill the pot. Wire and hard pruning on a first-year cutting just set it back.
Which species root, and how well
Route pickerspecies + season
Northern-hemisphere seasons — flip by six months below the equator. Odds mirror the guide above: five dead out of ten on a stubborn species is normal, not failure.
Success rate tracks how freely a species regenerates roots, and it swings hard — five dead cuttings out of ten is normal on a stubborn species, not a sign you failed. Rough odds, from semi-hardwood cuttings under a tent:
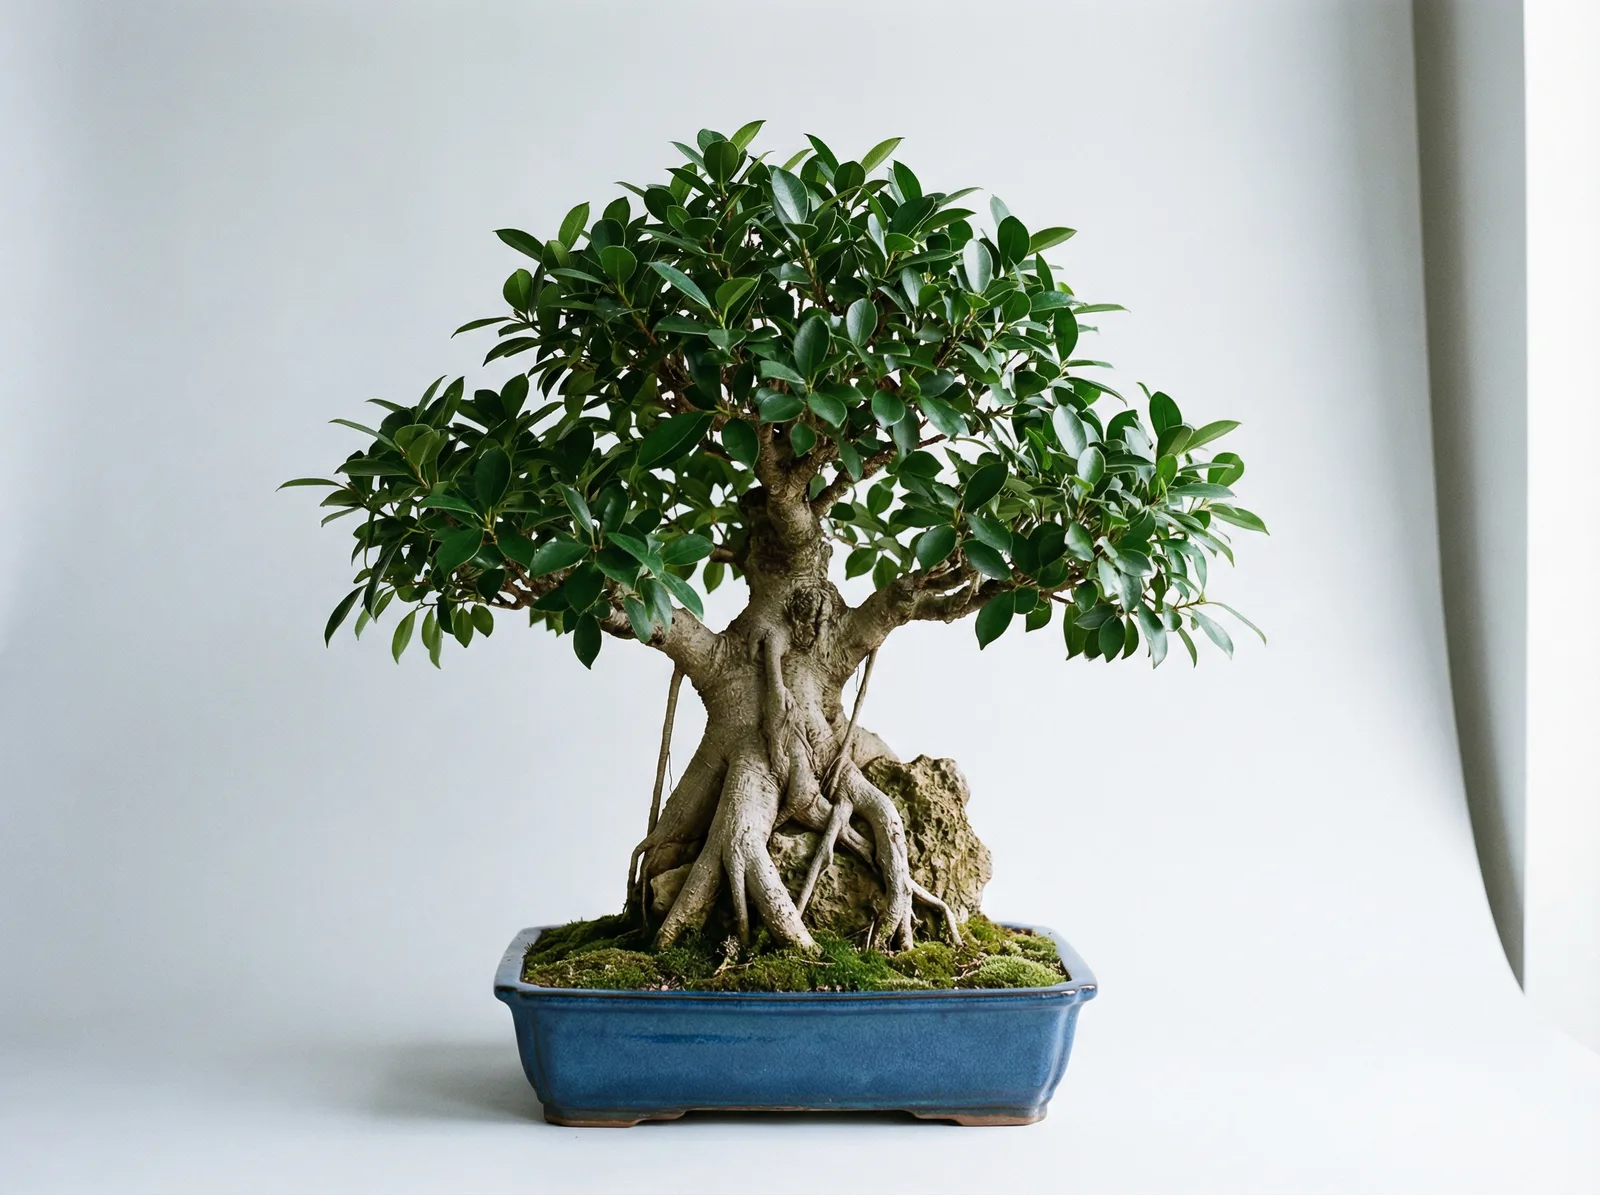
Ficus: around 90%, roots in three to six weeks. Almost comical — practically roots itself on damp soil.
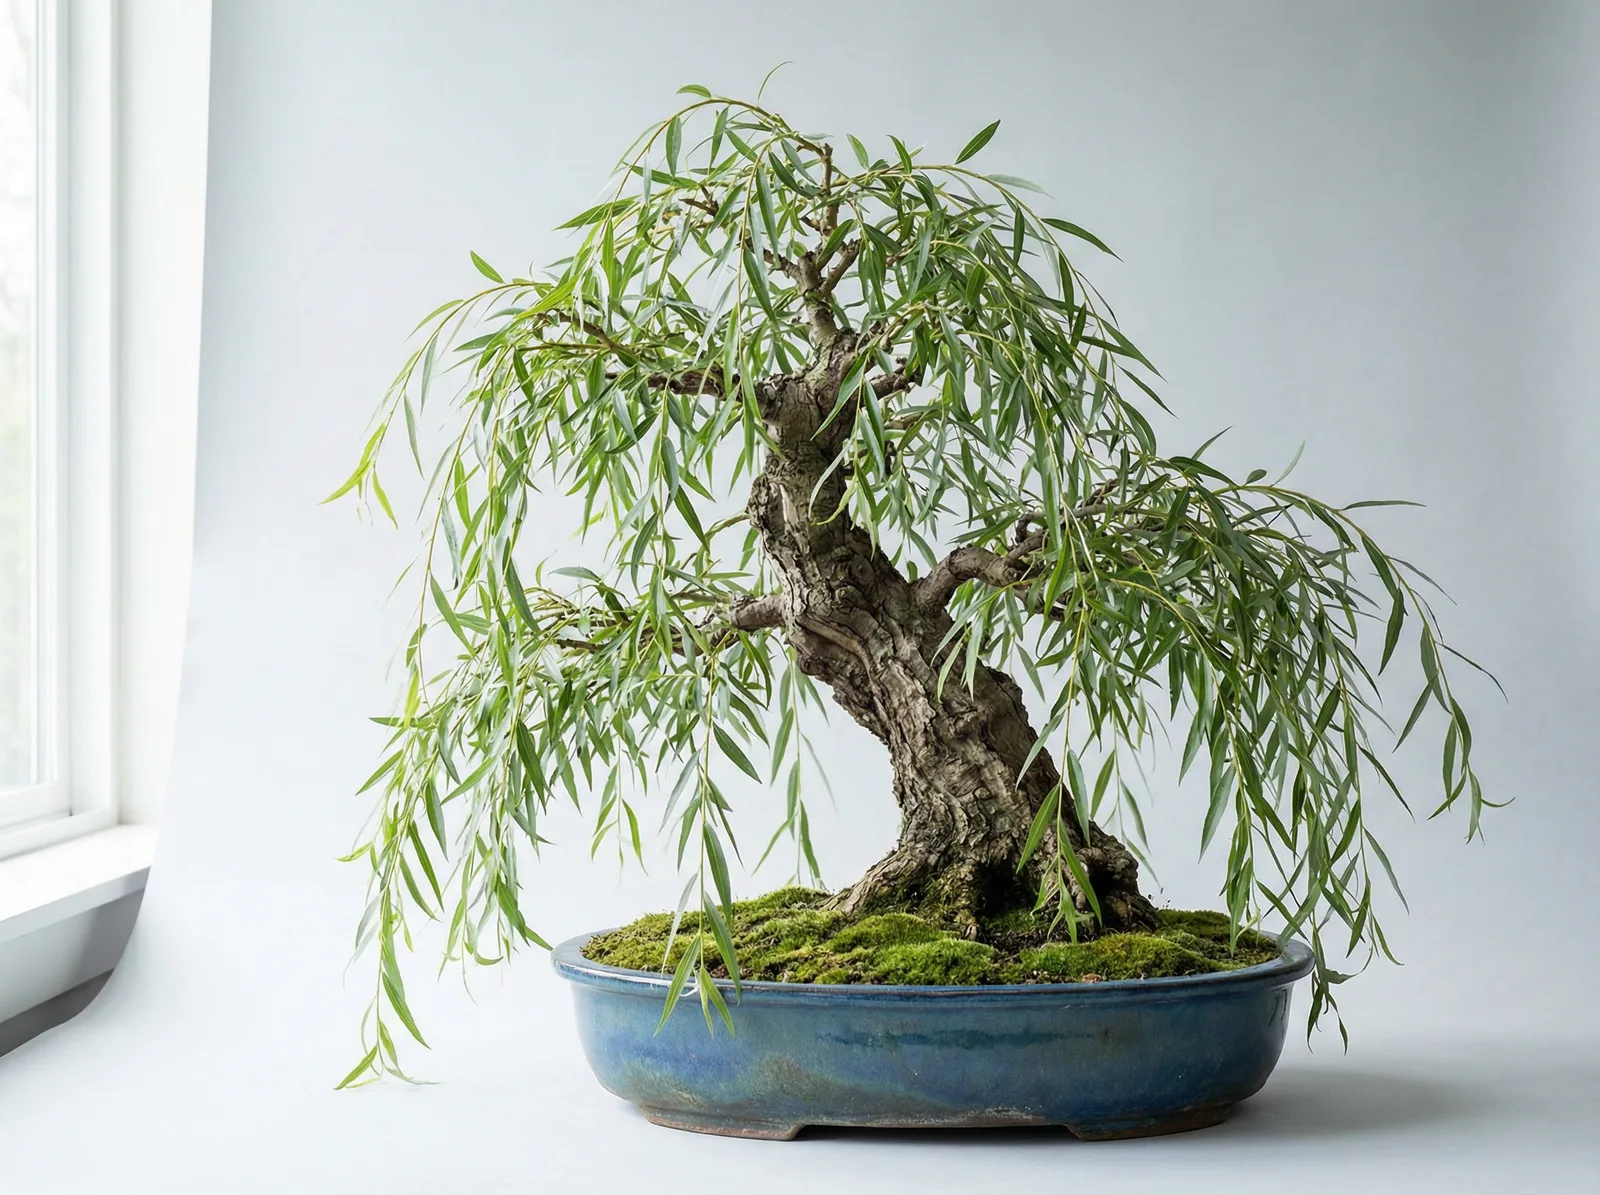
Willow: near 100% and fast — its rooting hormone is strong enough to steep the cuttings as a rooting aid for others.
Juniper: only 30 to 50%, and slow — three to six months to root. Take extra cuttings and wait them out.
Black pine and white pine: effectively zero from cuttings. Don't bother; air layering (below) or seed is the honest path for pines.
Timing: which cutting, which season
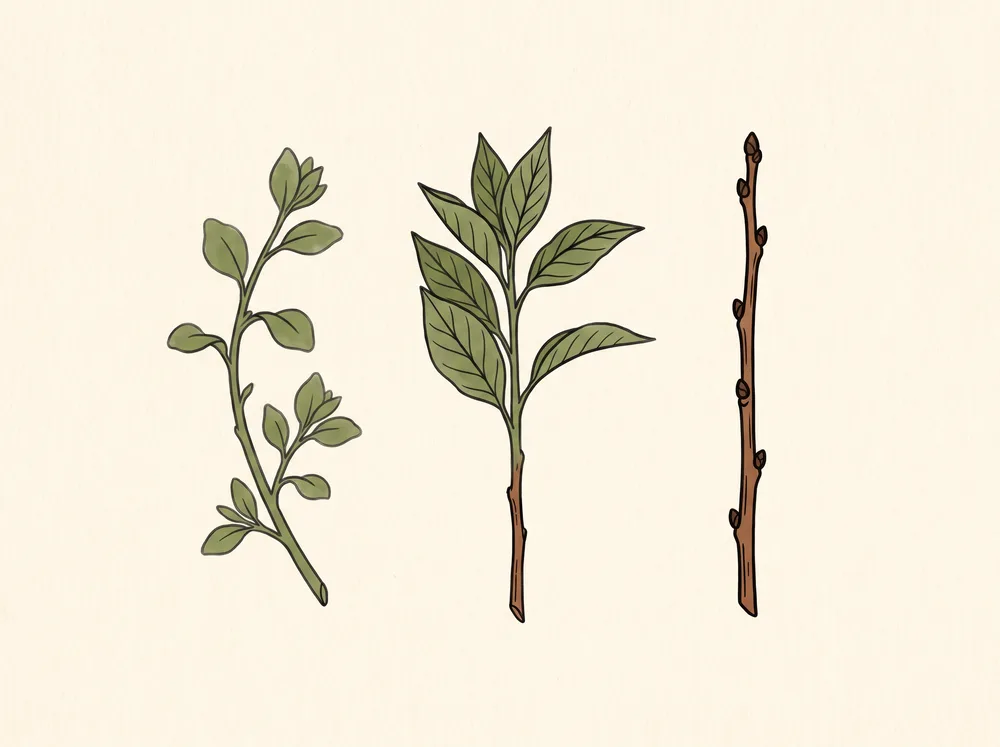
Wood firmness decides which technique works, and it changes through the year. The propagation calendar has a few distinct windows:
Left to right: softwood (green, flexible), semi-hardwood (firming, still bends), hardwood (woody, dormant). The middle one is the forgiving default.
Softwood, late spring: green, flexible new growth. Roots fastest, wilts fastest — keep it tented and shaded.
Semi-hardwood, mid to late summer: stems firming but still bending. The most forgiving window, and the default.
Hardwood, winter: dormant, fully woody deciduous cuttings. Slow to root but survives neglect; good for elms and willow.
Air layers, spring into early summer: started as the tree wakes and sap runs, so roots form over the warm months.
Stratification, fall or early winter: the cold-start for seed, timed so chilling ends as spring sowing begins.
Air layering: a thick trunk from day one
Air layering keeps the parent tree feeding the branch while it roots, so it works on trunk-thick wood and species that would die as a cutting. Ringing the bark cuts the phloem (inner bark, carries sugars down) but leaves the xylem (water up) intact — sugars pile up at the cut and roots form there.
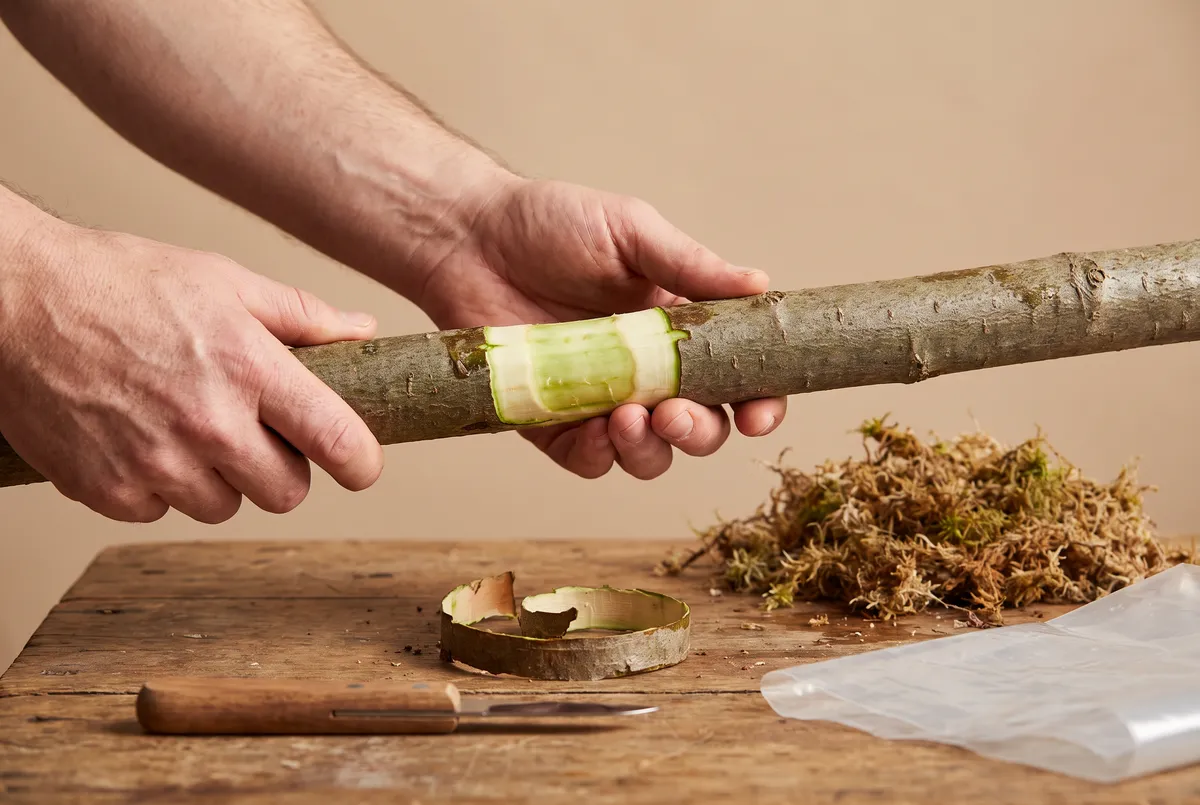
The ring, scraped to bare wood — 1.5–2× the branch's diameter. Leave any green cambium and it bridges back instead of rooting.
Pick a branch that's already the trunk thickness you want (two to three inches is common).
Ring the bark: remove a strip 1.5 to 2 times the branch's diameter, scraping down to bare wood so no green cambium is left to reconnect.
Pack damp sphagnum moss around the wound, wrap it tight with plastic, and seal both ends.
Wait six to twelve weeks. When white roots press against the plastic and fill it, cut below the layer and pot it up.
Before buying a "bonsai seed kit," read how long it takes to grow a bonsai — those kits are ordinary tree seeds in fancy packaging, and the honest timeline is five to ten years to anything tree-shaped. If the wait appeals: temperate species (maple, pine, larch, elm) need stratification — a cold-damp spell that convinces the seed winter has passed — while tropicals germinate right away. The fridge protocol:
Mix the seeds with a little barely-damp medium — a folded paper towel, or moist (not wet) sand or sphagnum — and seal them in a labeled zip bag.
Squeeze out the excess air and set the bag in the main body of the fridge, holding 33 to 41°F. Not the freezer; ice kills the embryo.
Leave it 60 to 90 days depending on species; pines and maples run longer.
Check every two weeks. Wipe or discard anything with fuzzy mold, and mist if the medium has dried out.
Sow as soon as white radicles (the first root tips) appear — dormancy has broken. Expect the rest in two to six weeks once potted.
Building trunks with the grow-and-chop
A trunk thickens only while it's feeding a large, running top — girth is the tree paying for the leaves above it. So you grow it out, then cut it back to force taper. When a seedling or rooted cutting reaches pencil thickness, chop it hard to two to four inches. New shoots break below the cut; keep the strongest as the leader and let it run. Grow, chop, grow, chop — one chop every one to two years.
The tree lives in a grow box or ground bed, never a bonsai pot — trunk development needs unrestricted root run and top growth, and a bonsai pot starves both. Taper that would take decades in a pot arrives in a few years, ready to show off through styling.
The honest year-by-year:
Year 1: a rooted stick in a pot, doing nothing visible while it builds a root system.
Years 2-3: a pencil-thick trunk running long and mostly unpruned in a grow box.
Years 4-6: repeated chop cycles laying down taper and the first real movement.
Years 7-10: enough trunk and branch structure for genuine styling, and a first move toward a bonsai pot.
When it goes wrong
Most propagation failures trace to the medium, the timing, or impatience — each has a tell.
Cutting turned black and mushy at the base. Too wet, or the medium too fine and airless — it rotted before it rooted. Use a coarser mix, water less, and make sure the pot drains freely.
Cutting stayed green for months but never rooted. Either it won't root from cuttings (pines), or the wood was too old. Take softer, current-season wood next time.
Air layer made a callus lump but no roots after twelve weeks. The ring was too narrow, so the cambium bridged the gap and reconnected — no rooting signal. Unwrap, recut wider (1.5 to 2 times the branch diameter), scrape it clean, and re-pack the moss.
Air layer rooted, but the branch died after you cut it off. Severed too early. Wait until the moss is dense with roots and some turn tan and woody, not white and threadlike.
After separation, the new tree sulks. Expected. Pot the layer in pure sphagnum or a fine mix, keep it shaded, and leave it alone a full season while it builds working roots.
Quick propagation sheet
Cuttings
four-to-six-inch semi-hardwood, rooting hormone, perlite or sand medium, tent plus bottom heat near 70°F; roots in four to eight weeks.
Best odds
ficus ~90%, willow ~100%, elm and jade ~70%. Worst: juniper 30-50% (three to six months), pines near zero — air layer or seed instead.
After rooting
vent over a week, pot up at one-to-two-inch roots into a grow box, overwinter it, train in year two or three.
Air layering
ring the bark 1.5-2x the branch diameter, pack sphagnum, sever only when roots are dense and turning tan (six to twelve weeks).
Seed
stratify temperate species 60-90 days at 33-41°F, sow when radicles show; skip the seed kits.
Grow-and-chop
chop to two to four inches, one chop every one to two years, in a grow box — never a bonsai pot.
Timeline
rooted stick (y1), running trunk (y2-3), taper by chop (y4-6), real styling (y7-10).
Start five ficus cuttings this month; even a 50% take leaves you with practice trees that cost nothing.