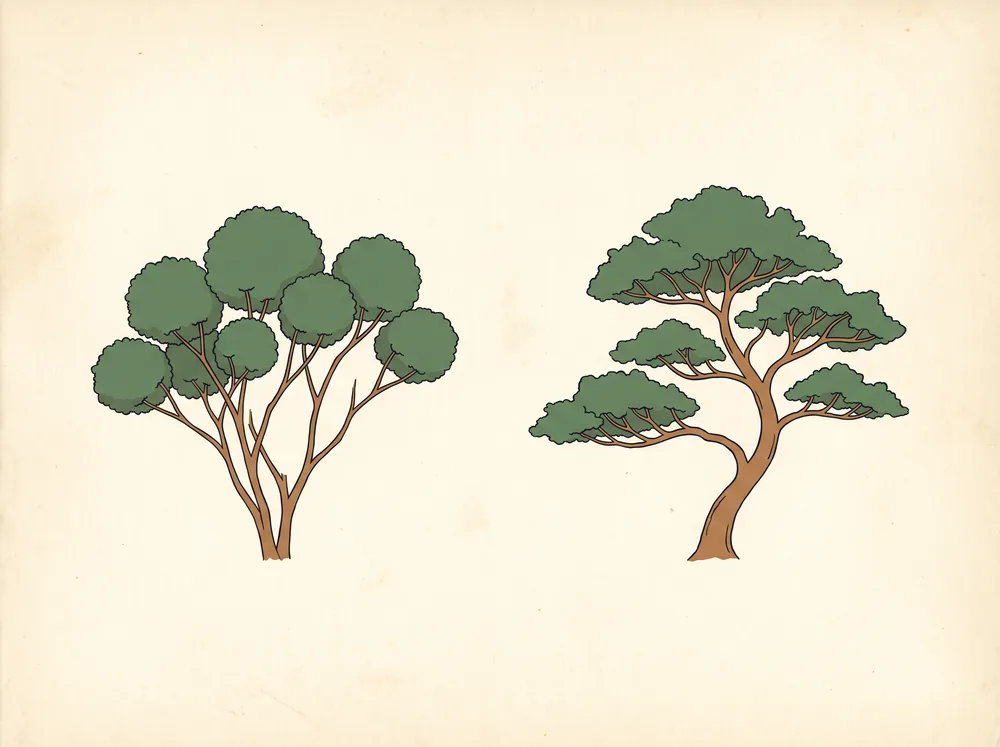
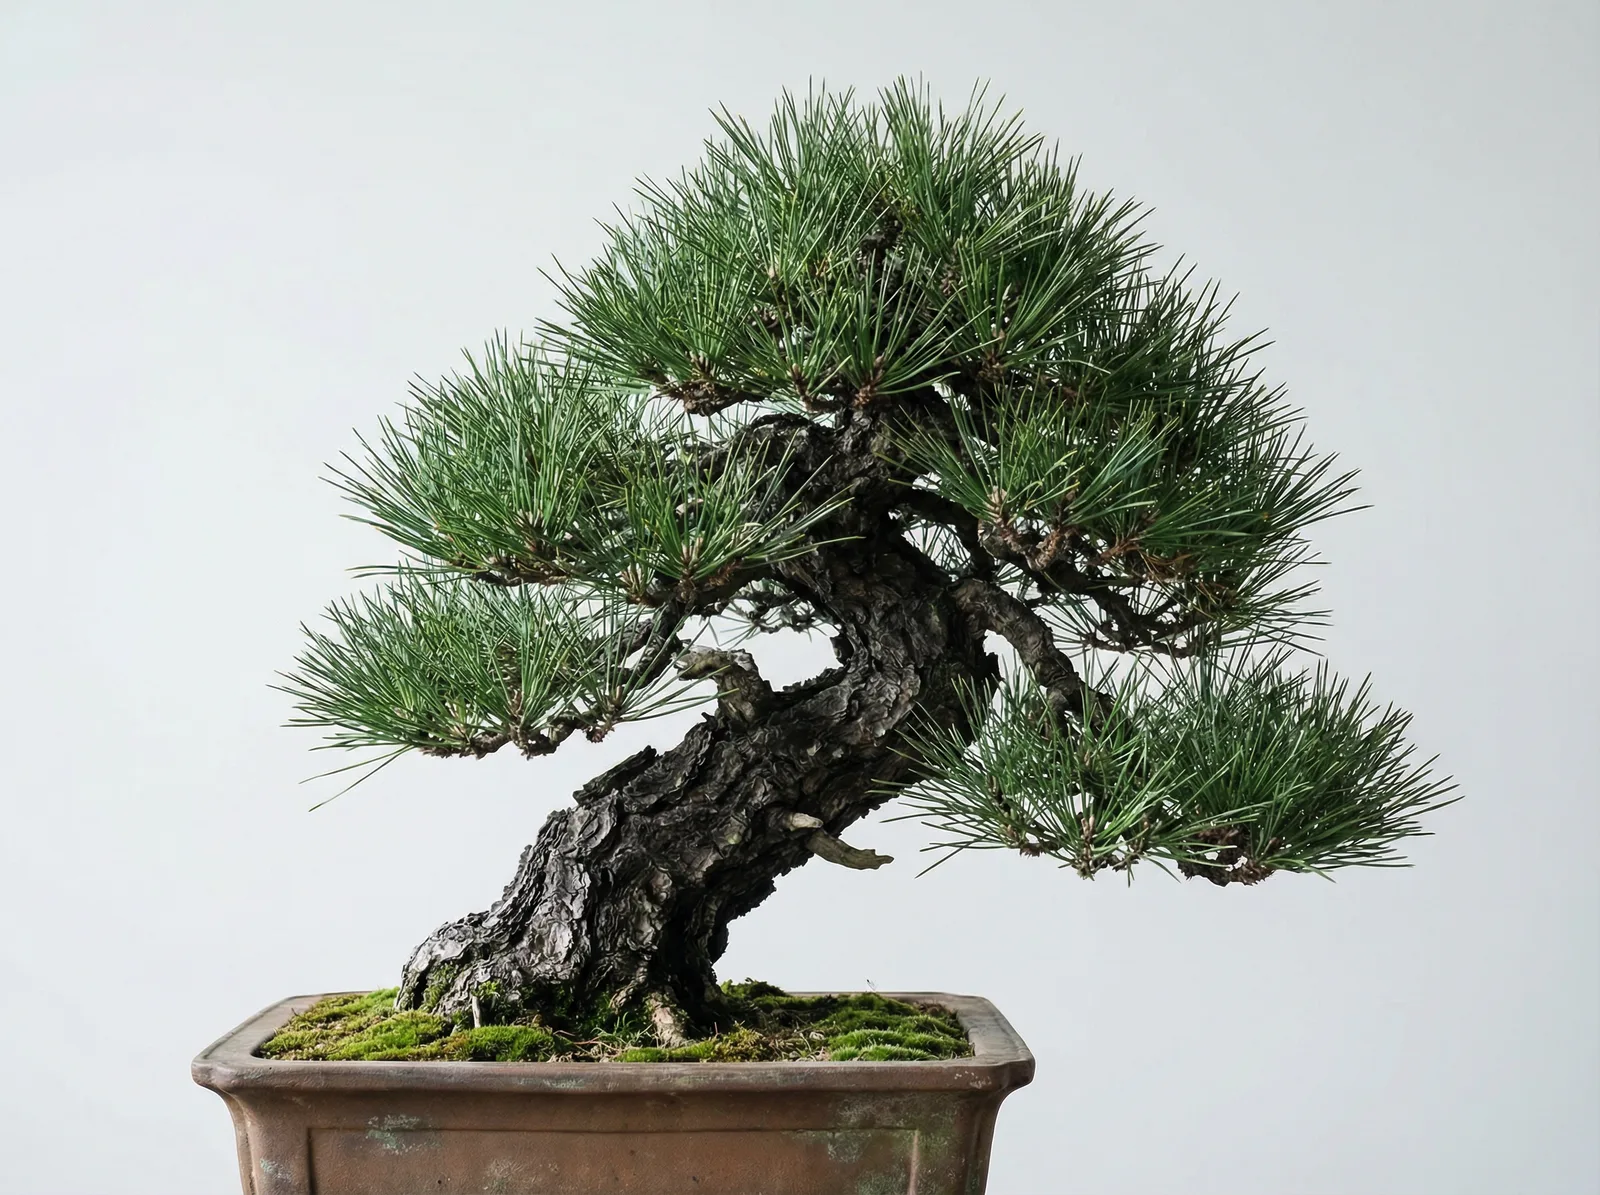
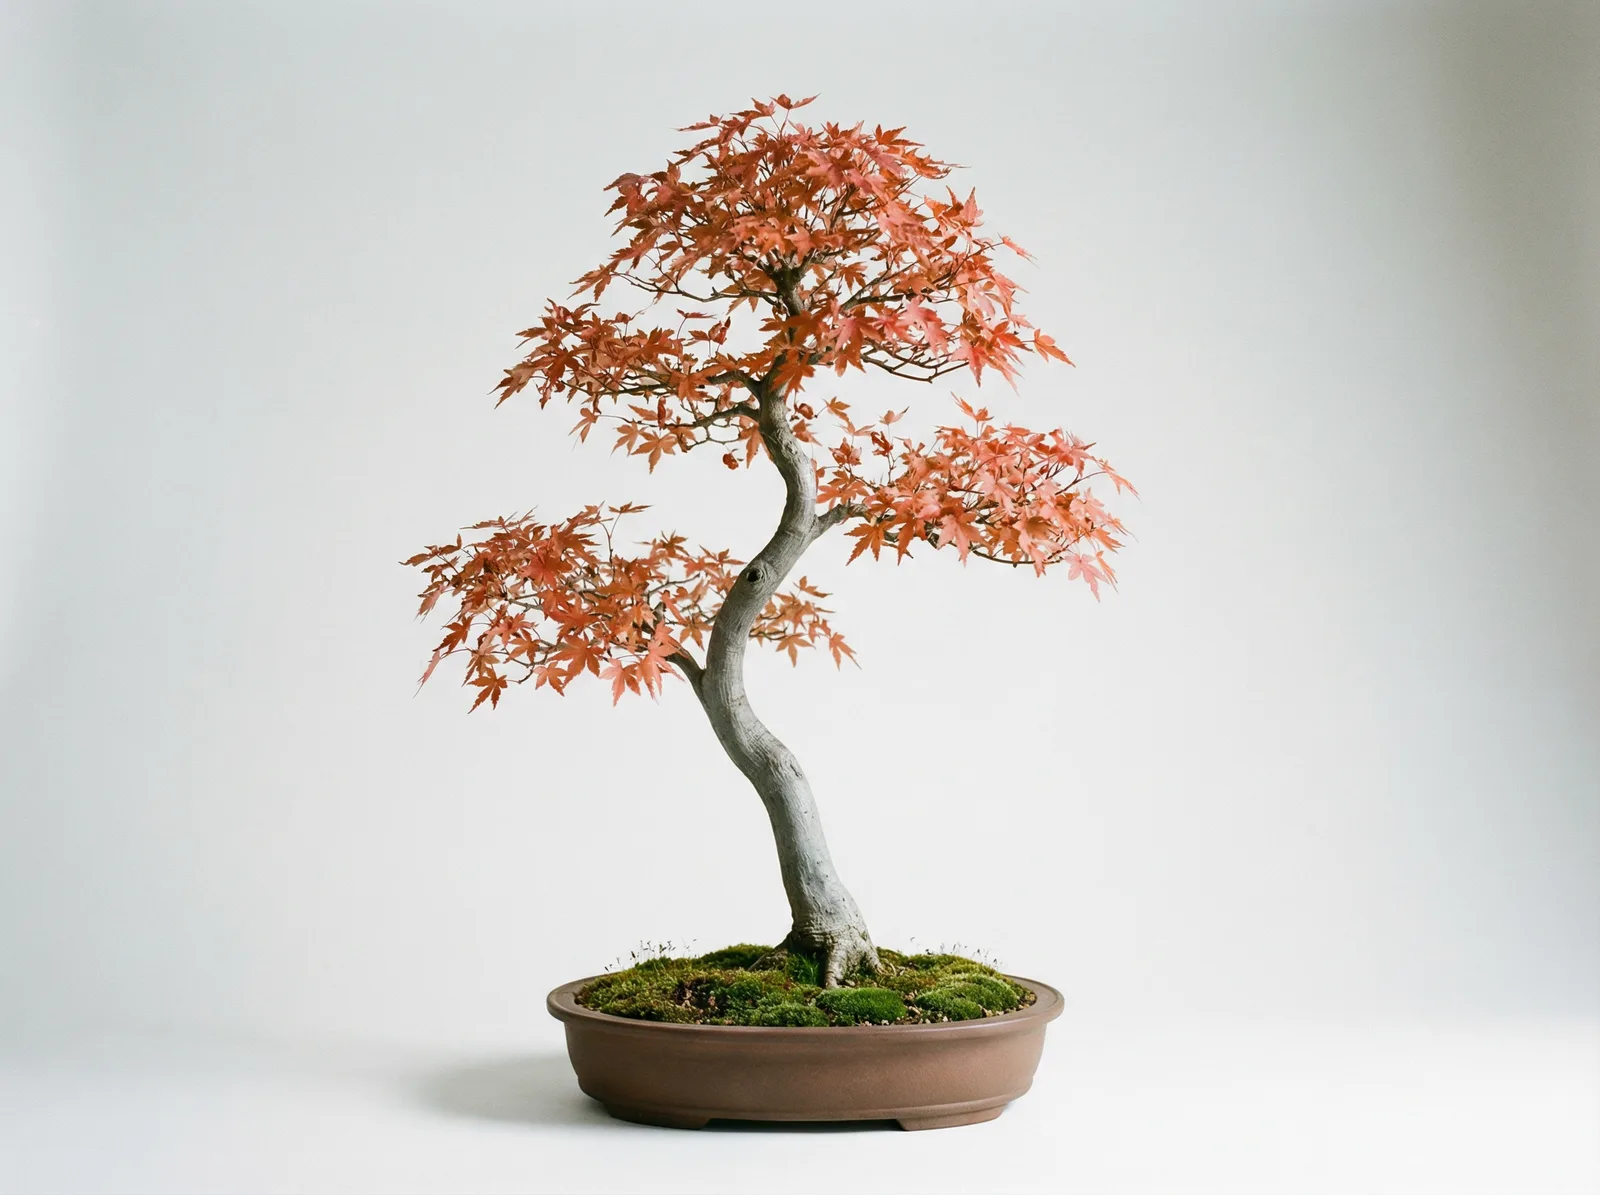
Bonsai styling takes raw nursery stock and shapes it into something that looks like a tree that's been standing for centuries. Here's how to start seeing the potential in any material.
On the benchbonsai scissorsconcave branch cutteraluminum wirewire cuttersturntablejin pliers
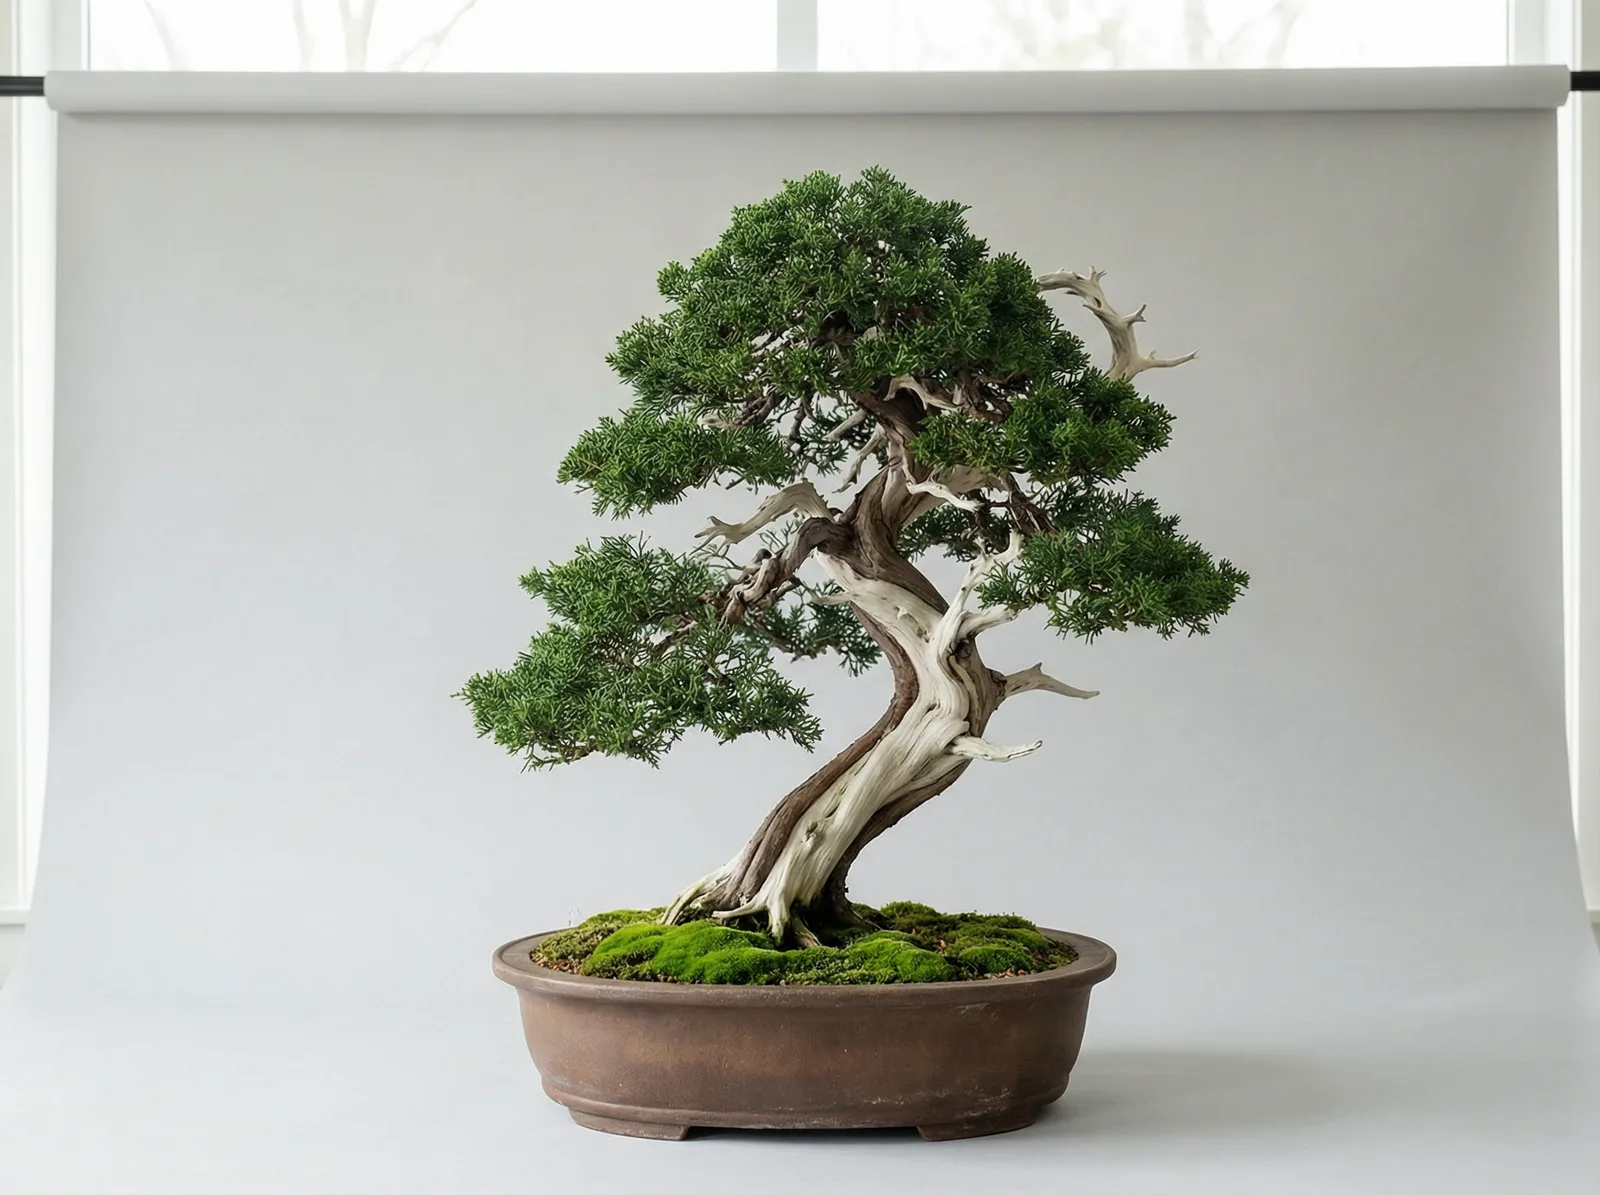
Every bonsai starts as raw material — a nursery tree, a collected yamadori (a wild tree dug up for training), a cutting that's spent two years in a grow pot. Styling is the process of staring at that messy starting point, seeing the tree it could become, and using shears and wire to shape it. It's the creative core of the hobby, and the part that hooks people for life. Here's how to choose a front, what to cut first, and how to run a first session on a cheap nursery juniper.
Choosing the front: four checks
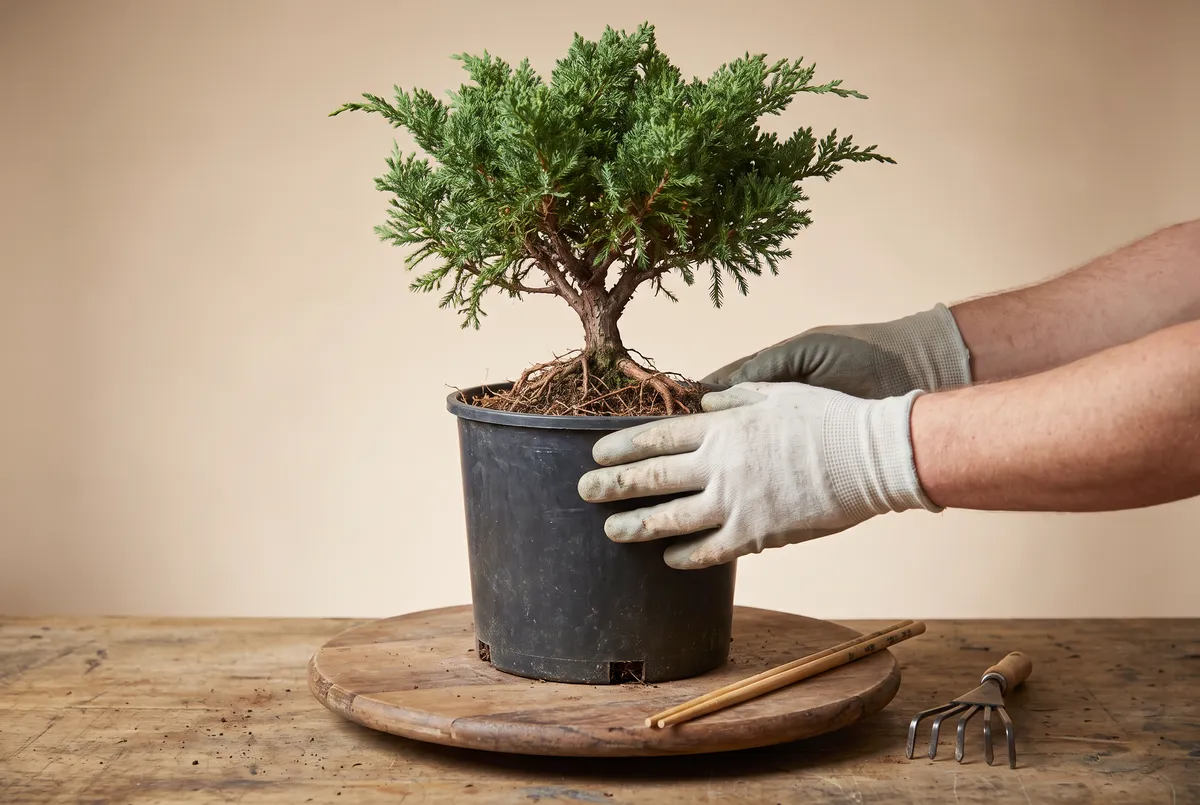
Set the tree on a turntable — a lazy susan works — and view it from every angle for a full five minutes before you touch a tool. There's no objectively correct front; two experienced growers can pick different fronts on the same tree and both be right. "Pick the best story" isn't a method, though. Run four checks:
The front audition: rake back the top half-inch of soil first — nurseries bury the good roots — then turn the tree until the widest, most even spread faces you.
Nebari (the visible surface roots): the widest, most even root spread faces the viewer. Rake back the top half-inch of soil first — nurseries bury the good roots.
Trunk movement: the trunk should curve toward the viewer low down, then away as it rises. Purely left-to-right motion reads flat; front-to-back depth reads three-dimensional.
Apex: the top tilts a few degrees toward the viewer, like the tree is leaning in.
No eye-pokers: nothing in the lower two-thirds points straight at the viewer.
Mark the front with a chopstick — you'll lose it ten minutes into the work.
The five basic forms
Raw-material style finderspecies optional
A framework, not a prison: formal upright (dead-straight vertical trunk, symmetrical branches), informal upright (curved trunk, apex over the base — the most common form and the natural starting point), slanting (trunk at 60-80 degrees from horizontal), semi-cascade (trunk roughly horizontal, at or just below the pot rim), and cascade (trunk plunging below the pot rim). Don't force material into a style it doesn't suit — let the trunk's existing movement pick the direction. A curvy juniper wants to be informal upright or cascade; a straight zelkova leans broom.
What to remove first: the triage list
Foliage is the tree's food supply — every cut spends stored energy — so start with the branches that are unambiguously wrong. In this order:
Dead wood. Unless you're keeping it as jin (a stripped, bleached dead branch — see the deadwood guide), it goes first. Free design clarity, zero cost.
Bar branches: two branches leaving the trunk at the same height on opposite sides. The trunk swells into a knuckle there over time. Keep the better one.
Wheel whorls: three or more branches radiating from one point — junipers do this constantly. Keep one, or two if they leave in opposite directions.
Crossers: anything crossing the trunk or another branch.
Eye-pokers: branches aimed at the viewer.
Straight-up shooters and straight-down droppers — neither reads as a tree limb.
Arrange what survives by the classic placement principles: first branch at roughly one-third of the trunk's height, left or right; second on the opposite side, slightly higher; third toward the back for depth; then alternating upward, each shorter than the one below. Starting points, not laws — you'll learn to break them with intention. The cuts themselves are covered in the pruning guide.
Proportion, taper, and negative space
Taper is what makes a 12-inch tree read as a 40-foot oak: widest at the base, visibly narrowing to the apex, and the same logic in every branch. A trunk with no taper looks like a broomstick with foliage attached, and no amount of wire fixes it — which is why trunk quality is the first thing to check when choosing a tree.
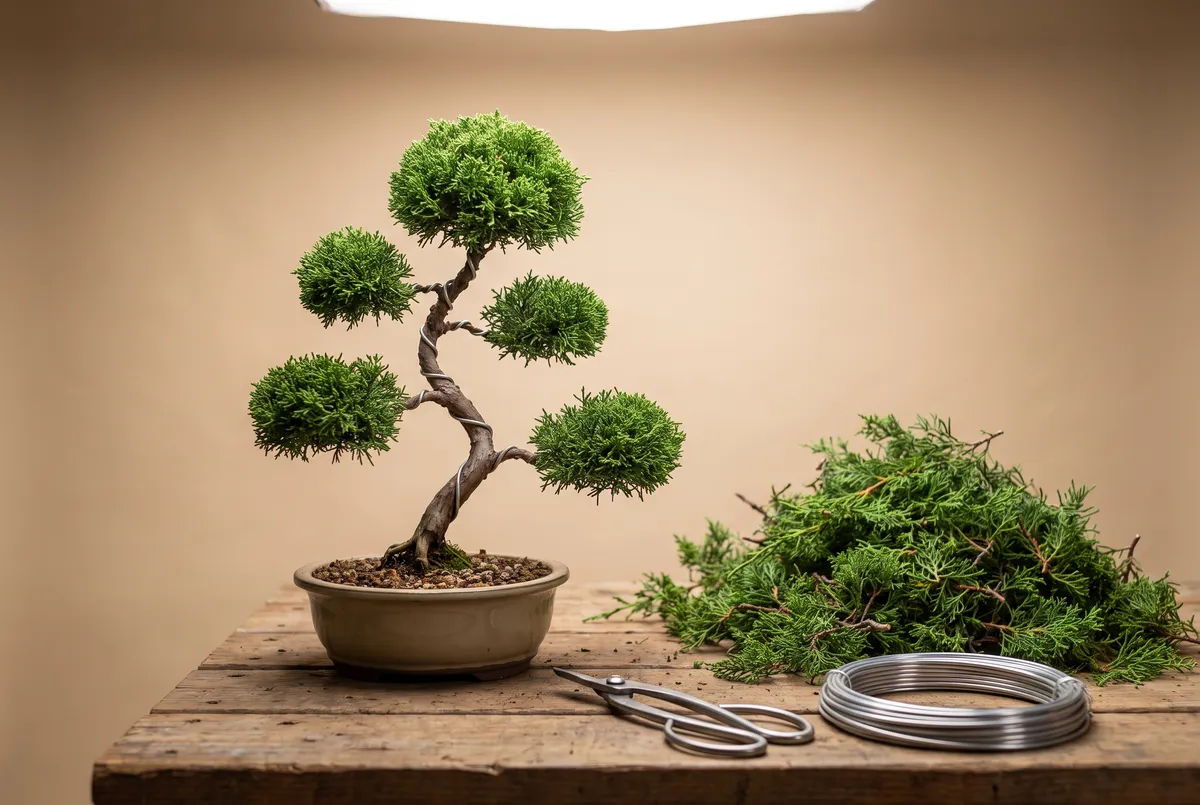
Same tree, one difference: the gaps. Negative space is what lets a 12-inch juniper read as a full-size tree — and it comes from taking away, not adding.
Classical finished height is about six times the trunk's base diameter — a 1-inch trunk suggests a 6-8 inch tree. Literati breaks this ratio on purpose; almost nothing else should. The first branch sits at about one-third of that height. For the pot: length around two-thirds of the tree's height, glazed for deciduous and flowering species, unglazed earth tones for conifers — the pot size calculator does the arithmetic.
The gaps between foliage pads matter as much as the pads. Negative space lets the eye travel through the tree and creates depth and scale. Beginners almost always leave too many branches; the most dramatic improvements in a styling session usually come from taking away, not adding.
Your first styling: a nursery juniper, one afternoon
The canonical first project costs less than a pizza. Grab a one-gallon Juniperus procumbens 'Nana' from any garden center ($15-30) and pick the one with low trunk movement and dense foliage — density means vigor. Any time from spring through early fall works for a juniper; skip the hottest weeks of summer.
A normal first session: the cut pile is 30-40% of the foliage. If it starts approaching half the tree, the session is over.
Clean the trunk line. Pull off dead interior needles and twiggy junk until you can see bark from base to apex. Costs the tree nothing.
Choose the front using the four checks above.
Triage. Dead wood, bar branches, wheel whorls, crossers, droppers, in that order. On typical nursery stock that's 30-40% of the foliage — normal.
Pick three to five primary branches that alternate sides and shrink toward the top. Everything else comes off, or gets shortened to a stub for future jin.
Wire the trunk and two primaries. Use wire about one-third the thickness of the branch — the wire gauge selector gives you the size — and set the primaries at a slight downward angle. Old trees droop; young ones reach up. Full technique in the wiring guide.
Set the apex. Compress it slightly and tilt it toward the front. Don't chop it off.
Stop. Water thoroughly, park the tree in bright shade for two weeks, hold fertilizer until new growth appears. No repotting this year — styling and root work in the same season is two surgeries back to back. Structure this year, pads next year.
Building pads: clip and grow
Let a shoot extend four to six nodes, cut back to two, wait. Each cut point pushes two new shoots, doubling ramification (the density of fine branching). Over several seasons that builds the dense, cloud-like pads you see on finished trees. It's slow, there's no shortcut, and watching a pad fill in over two years is one of the genuine satisfactions of the hobby.
Pace the work to the tree's strength. A vigorous nursery tree can take pruning and wiring in one session — that's the walkthrough above. On anything young, weak, or refined, split the operations — prune in late winter, wire in early spring, then let the tree respond before the next move.
When it goes wrong
Most ruined nursery stock traces to a half-dozen repeatable mistakes, most recoverable if caught early.
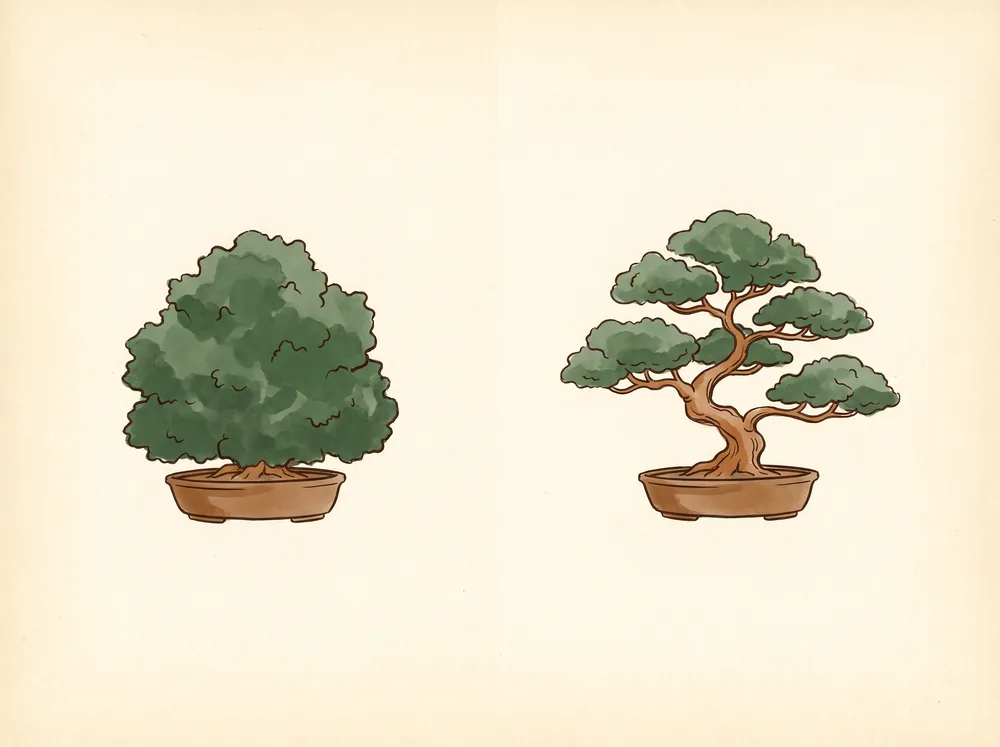
Left: the poodle juniper — sheared outline, pom-poms, dead interior. Right: what thinning for light gets you. Recovery is a two-to-three-year project.
The poodle juniper. Sheared outlines leave pom-poms of green on bare sticks. Recovery: stop cutting for a full season, then thin the shell so light reaches the trunk. Interior buds only return near live foliage — it's a two-to-three-year fix.
The day-one apex chop. Beheading the tree to "make it shorter" leaves a flat, taperless stump. If it's done: pick a new leader from the highest usable branch, wire it vertical, and let it thicken for two to three seasons.
Styling a weak tree. Pale, sparse, or stalled growth means no energy reserves; heavy work on top is how "it was fine last month" trees die.
Wire biting in. Check wire every two to four weeks in the growing season and remove it the moment it dents bark. Bite scars fade within a season or two on junipers; on thin-barked maples they can show for years.
Christmas-tree symmetry. Mirrored pads at matching heights read as a plastic decoration, not a tree. Remove one of each pair — bar branches, again.
Needle drop after styling. Interior needles yellowing and shedding after a session is usually normal shading response, not death. Scratch a twig: green under the bark means wait; brown means that branch is gone.
How different species take styling
Every species bends the rules its own way:
Juniper: the flagship styling species — wood stays bendable for years, ideal for cascade and windswept shapes, the best deadwood canvas in the hobby. Modern consensus: cut long shoots back to a side shoot rather than pinching every tip.
Chinese Elm: back-buds from old wood almost anywhere and forgives bad cuts better than anything on this list. The classic clip-and-grow tree.
Japanese Maple: styled with shears, not wire — thin bark scars fast, so shape by pruning to a bud facing the direction you want.
Ficus: the tropical exception — styles year-round indoors, heals big cuts quickly, and grows aerial roots you can style as features.
Japanese Black Pine: a multi-year technique tree — structure from fall wiring, foliage density from early-summer candle work. Not a first-styling species.
Satsuki Azalea: basally dominant — the bottom grows stronger than the top, the reverse of nearly everything else — so prune the lower half harder and protect the apex.
Zelkova: built for the broom style — one straight trunk, one big decision cut, then years of clip-and-grow ramification.
Quick styling sheet
Five minutes of looking before the first cut. Front = widest nebari, trunk moving toward-then-away, apex tilted forward, no eye-pokers.
Match the style to the trunk's existing movement.
Triage order: dead wood, bar branches, wheel whorls, crossers, eye-pokers, droppers.
Branches: alternate sides, shrink upward, first branch a third of the way up, none pointing at the viewer.
Prioritize taper and negative space over foliage volume; finished height about six times trunk diameter.
Ceiling: 30-40% of the foliage in one session, never half.
One operation per season on a young or weak tree; styling is cumulative.